
Object Viewer and Open Object Dialogs
This section describes the user interface for the Object Viewer and Open Object dialogs, and then presents a tool used to select methods on multiple objects. Additional information on display of objects on the workspace can be found as follows:
• Adding, selecting, and deleting objects. See Objects on the Workspace.
• Importing and exporting of objects and links. See Exporting and Importing Objects. See also Exporting and Importing Multiple Slots for a utility to export and import just the slots or their values.
• Display groups allow you to change how objects are labeled, their layer and the color and line properties on the accounting workspace. See Display Groups.
• Clustering objects together into a single icon on the workspace. See Object Clusters.
Opening the Object Viewer
Open an object by double-clicking its object icon on the workspace, or by selecting the name in the workspace object list. By default, the Object Viewer is shown with a tab for the Object. Figure 5.1 shows both an Object Viewer and Open Object dialog.
Figure 5.1
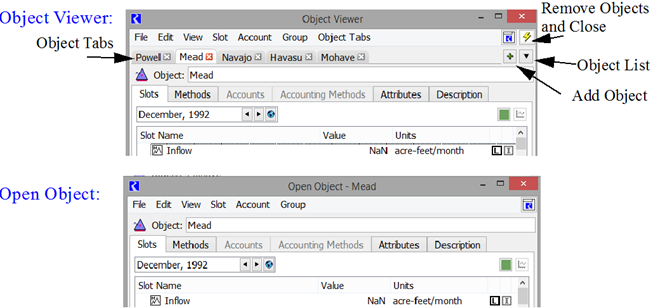
Note: The menu bar options will be the same. They are dynamically updated in the Viewer based on the object selected.
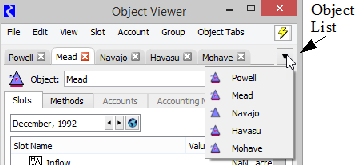
The Object Viewer is the default dialog used to look at an object. It is convenient, as all objects open in the one dialog. Select the tabs to switch between objects. Or use the Object List menu on the right of the tabs. This is particularly useful if you have many objects in the viewer.
Also, use the green plus button to use the object selector and add an object to the Object Viewer.
Arranging Tabs
There are three modes to arrange the object tabs in the viewer as selected in the Object Tabs menu:
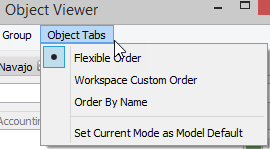
• Flexible Order: Tabs can be rearranged in any order. Drag the tabs left and right to rearrange them. New object tabs are appended to the right of existing tabs.
• Workspace Custom Ordering: Object tabs are ordered left to right using the custom object order from the workspace's Simulation Object list. See Simulation Object List for more information on the Simulation Object List.
• Order By Name: Object tabs are ordered left to right in case-insensitive lexical order.
Tip: A confirmation dialog is presented if you reorders the tab when not in Flexible Ordering mode. You have the choice to either cancel the move or switch to Flexible mode. You can still drag objects off and undock object in Workspace Custom or Order by Name mode.
In addition, in the Object Tabs menu, use the menu Set Current Mode as Model Default to set the current mode as the model default. This setting will be saved with the model file.
Undocking Objects
To look at two objects at once, drag the tab off the viewer to create an Open Object dialog for that object. Or use the File, then Undock Object menu or File Undock all Objects.
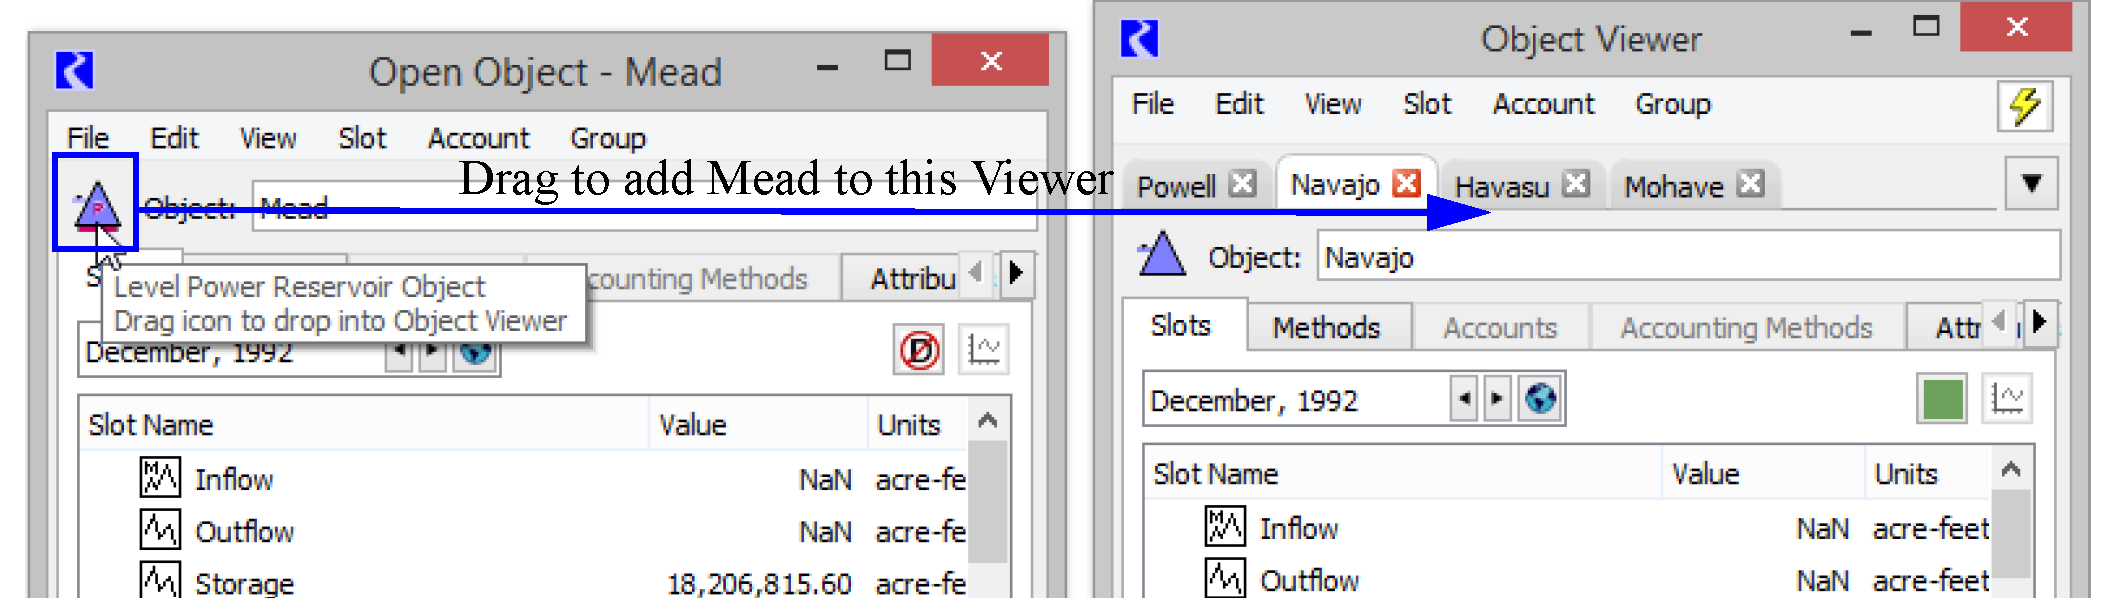
Redocking Objects
To move an Open Object dialog back onto the viewer, grab the Object icon and drag it anywhere onto the Viewer. A new tab will be created. Or use the File, then Dock In Object Viewer menu.
Closing an Object
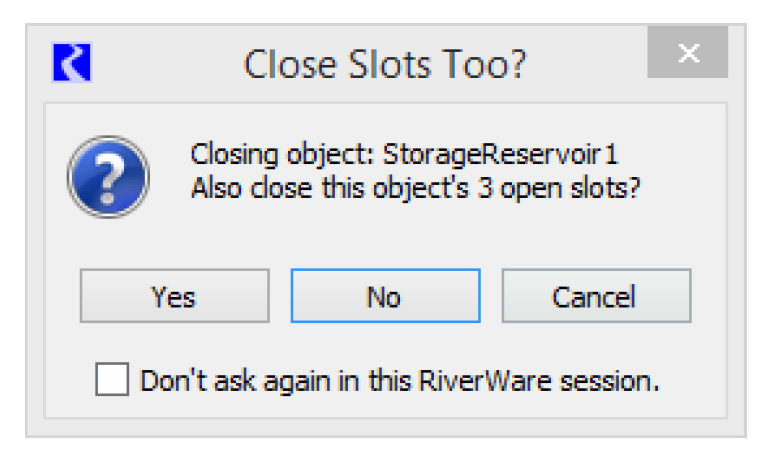
Use the red X on the tab to close an object tab that is on the viewer. If you also have slots from that object shown in either the Slot Viewer or separate dialogs, you will be prompted with a confirmation asking if you want to close those slots too.
Closing the Viewer
Select the red X on the viewer dialog to close the viewer. This will close the dialog, but all objects will remain in the viewer. Reopen the viewer and show the previously opened objects selecting the Object Viewer button in the bottom of the workspace.

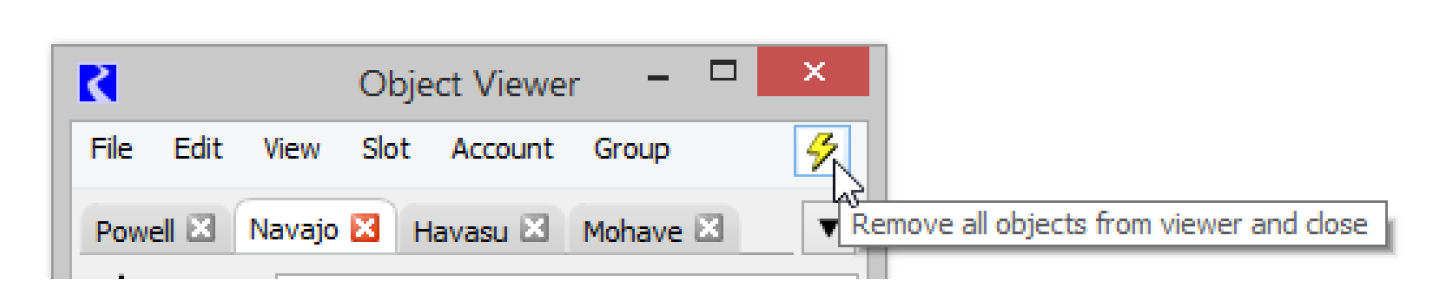
Select the Remove All Objects, yellow lightning bolt button to remove all objects from Viewer and close.
Revised: 01/11/2023