
General Workspace Features
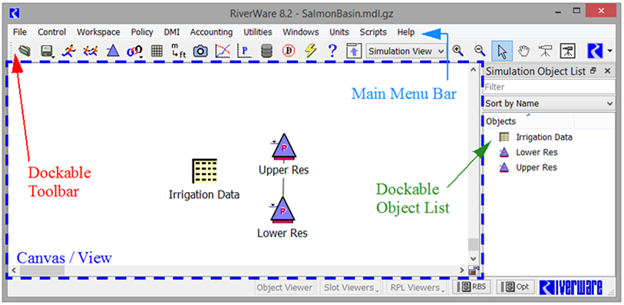
The workspace features a main menu bar in which the various functions of RiverWare are organized into menus. The workspace also contains a dockable toolbar featuring shortcut buttons to some key RiverWare operations and utilities. There is also a dockable object listview window of all the objects on the workspace. A screenshot of the workspace is shown in Figure 2.1.
Figure 2.1 Screenshot of a Sample Workspace
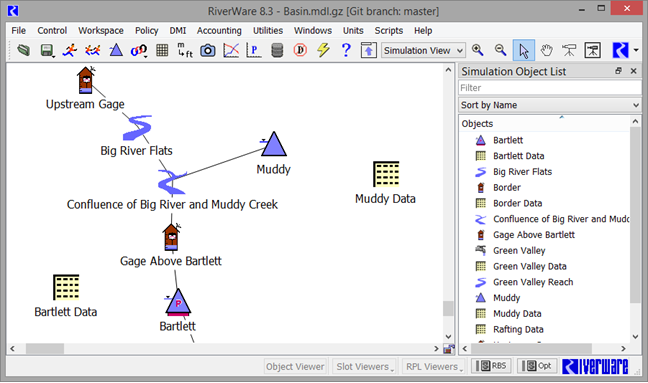
Note: The workspace always lists the name of the model file in the title bar. As shown above, if the model, Basin.mdl.gz, is part of a Git Repository, it will also show the branch name, in this case “master”. Additional Git information can be seen in the model info. See Git Information for more information.
Workspace Display Mode
The workspace supports two modes
1. Full mode shows everything, including the canvas view, toolbar buttons, docked windows, title bar, menus, and status bar.
2. Compact mode shows only the title bar, menus, toolbar (if enabled), and status bar.
Typically, Full mode is used when building a model or investigating objects on the workspace. Compact mode is used when you don’t need to see the canvas views and you want to use the toolbar buttons and menus to run a script, execute a run or look at outputs. In this approach, some users will open RiverWare, detach the Object List and then switch to Compact mode to provide a more efficient use of screen space.
To switch between the two modes:
• Use the Windows, and then Toggle Workspace Display Mode menu
• Use the keyboard shortcut Ctrl+T
• Click on the toolbar buttons shown in Figure 2.2
Figure 2.2 Screenshot of Toggle Workspace Display Mode toolbar buttons

The following sections describe each mode.
Full Mode
When the canvas is shown if Full mode, the canvas views are shown along with the menus, toolbar, dockable windows, and status bar. This is the default and primary view of the simulation space where models are built and modified. In the workspace, a model is graphically represented as a network of objects with links connecting the objects. The workspace allows for exploration of the model through the following viewing options:
• A zooming interface including toolbar buttons like, zoom, pan, and the locator views.
• Tooltips providing information about objects and links.
• Scrolling bars to pan across the model. The scroll bars can be used to view different regions of the workspace. The default locations of the scroll bars are the lower corners of the workspace.
• The ability to select multiple objects by selecting a region of the workspace or to select single objects.
• A dockable window displaying a list of all objects on the workspace.The dockable windows can be moved to new positions on the workspace or completely detached from the workspace by selecting the raised grey lines (the handle) of the window and dragging it to a new position. If you undock and/or close the toolbar or object list, you can reshow them using the Windows, then Show Simulation Object List, Show Toolbar, or Show Animation Controls menus.
• The ability to resize the workspace to display a larger or smaller region of the canvas/view.
Figure 2.3 shows a view of the workspace in Full mode.
Figure 2.3 Screenshot of the workspace in Full mode
Compact Mode
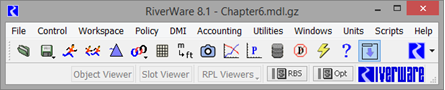
“Compact” display mode shows only the title bar, menus, toolbar (if enabled), and status bar. In other words, the Compact display mode hides the canvas/views, Simulation Object List (if shown and docked within the workspace), and Animation controls (if shown and docked within the workspace). Figure 2.4 shows a view of the workspace in Compact mode.
Figure 2.4 Screenshot of the workspace in Compact mode
Send Workspace to Back
Sometimes the workspace can obscure other dialogs that you may wish to see. When this happens, you can use the Send Workspace to Back operation to force the Workspace window to be displayed behind any other overlapping window. The action is available in the following ways:
• Use the menu Windows, and then Send Workspace to Back
• Use the keyboard shortcut: Ctrl+B
Show Workspace
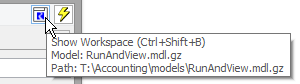
Since the Workspace is the main RiverWare interface and the hub for many actions and operations, it is often necessary to open the workspace to access other parts of the RiverWare. To show the workspace from many other dialog boxes in RiverWare, use the Show Workspace operation using one of the following:
• Use the File and then Show Workspace menu.
• Use the keyboard shortcut Ctrl+Shift+B.
• Use the Show Workspace button on the right of many menu bars.

A tool tip gives the model file name and the model path, when applicable.
Toolbar and Workspace Buttons
The toolbar in RiverWare is dockable, meaning it can be moved from one side of the workspace to the other or exist as an independent dialog. Table 2.1 summarizes the Workspace buttons.
Icon | Action | Icon | Action |
|---|---|---|---|
 | Load a model |  | Toggle between Compact and Full Workspace display mode |
 | Save a model - The button opens a menu that gives you a choice to either Save or Save As. The tool tip shows the name and path of the saved model. | 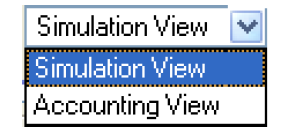 | Switch between the Simulation View, Geospatial View and the Accounting View (if Accounting is enabled) |
 | Open the Run Control Dialog |  | Zoom in |
 | Open the Multiple Run Control Dialog |  | Zoom out |
 | Open the Object Palette |  | Selection Mode |
 | Open the Smart Linker or Edit Links dialog |  | Pan Mode. Use the middle mouse button to temporarily enter pan model from Selection Mode. |
 | Load an SCT |  | In-view Locator Mode |
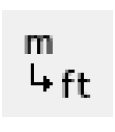 | Open the Unit Converter |  | Show Locator Window |
 | Open the Snapshot Manager |  | Change the dialog box icon colors. (See Icon Colors) |
 | Open the Output Manager |  | Show the Object Viewer. (See Viewer Buttons) |
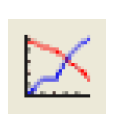
 | Open an empty plot dialog |  | Show the Slot Viewer. (See Viewer Buttons) |
 | Open the DMI manager |  | Show the RPL Viewer for the specified set. (See Viewer Buttons) |
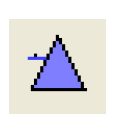
 | Open the Model Run Analysis tool |  | Show the loaded RBS ruleset. (See RPL Set Buttons) |
 | Close Dialogs |  | Show the loaded optimization goal set. (See RPL Set Buttons) |
 | Open the Help file |
Viewer Buttons
There are three “Viewer” buttons at the bottom of the workspace. The buttons allows for quick access to the appropriate viewer showing previously opened viewer dialogs. The viewer buttons are:
• Object Viewer: Open the Object Viewer. See Object Viewer and Open Object Dialogs for details. This button is always enabled and will open an empty Object Viewer is not objects have been opened.
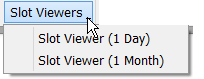
• Slot Viewers: Open the specified Slot Viewer. There is one Slot Viewer for each timesteps size and one for Scalar and 1X1 table slots. See Slot Viewer Functionality for details. This button is only enabled if one or more slot viewers are open, even if empty.
• RPL Viewer: Because there are many different RPL sets with one viewer per set, this button presents a menu of available viewers. Select the desired viewer from the menu. See Using the RPL Viewer and RPL Editor for details. This button is only enabled if one or more RPL viewers are open. This opens RPL Viewer where RPL logic is developed and edited. The “S” buttons to the right of the viewer buttons open the RPL Set, see RPL Set Buttons
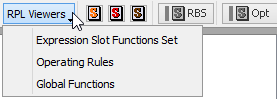 .
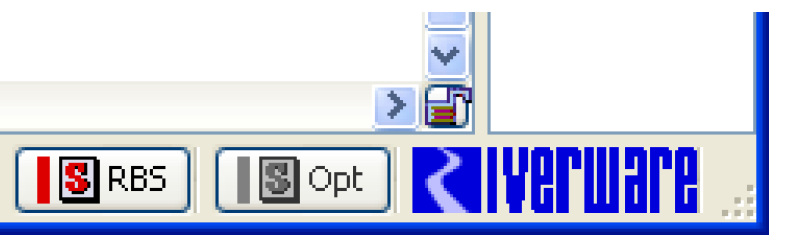
.RPL Set Buttons
The workspace has buttons on the bottom of the dialog to show the loaded RBS ruleset  or optimization goal set
  . The bar is colored (red for RBS, purple for Opt) when there is a loaded set, grey when there isn’t. In Figure 2.5, there is a loaded RBS ruleset, but no loaded Opt goal set. Select one of the buttons (when loaded) to raise the loaded set to the top.
or optimization goal set . The bar is colored (red for RBS, purple for Opt) when there is a loaded set, grey when there isn’t. In Figure 2.5, there is a loaded RBS ruleset, but no loaded Opt goal set. Select one of the buttons (when loaded) to raise the loaded set to the top.Figure 2.5
Also shown are color-coded icons for the following:
• Ruleset, goal set, or global function set opened from a file
• Embedded sets (OLAM, expression slots, Init rules, Iterative MRM) that contain at least one group

Hover over any icon for a tooltip indicating the location or click to open that set. Also, the sets are still available through the Policy menu. See About RPL Sets in RiverWare Policy Language (RPL) for the color code for sets.
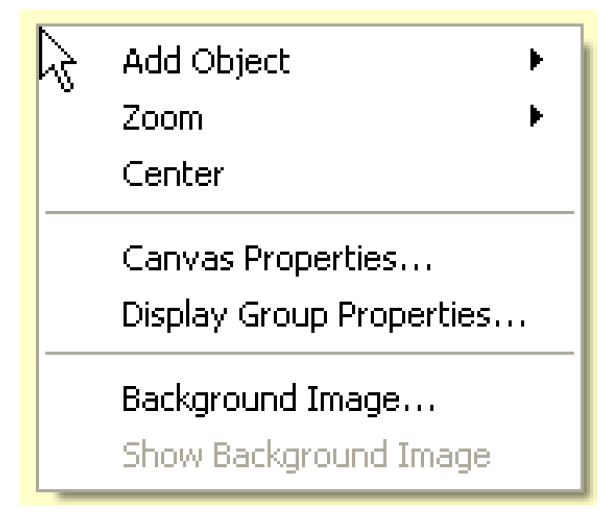
Right-click Context Menu
The Simulation Workspace right-click context menu (when not selecting a simulation object icon) has the following options.
• Add Object. Add an object
• Zoom. Choose the desired zoom level
• Center. Centers the visible Workspace area on the clicked point.
• Show Background Image (a checkbox). Either shows or hides the configured background image. This item is enabled only if a background image is configured. This checkbox state is also represented as a checkbox in the Background Image Configuration dialog; Background Image
• Object Coordinates (Geospatial view only). Shows the geospatial coordinates for the objects on the workspace.
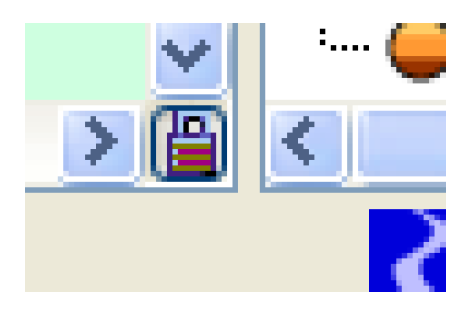
Lock Icon Position Controls
The moving of Simulation Object icons on the Workspace can be disabled by locking icon positions as follows:
• Select the Lock Icon button in the corner between the two Workspace scrollbars.
• Select Workspace, then Lock Object Positions.
Show Commas in Numbers
RiverWare provides the option to show commas as a thousands separator in slot values (slot dialogs, SCT, accounts, and exchanges) and numeric values entered into a RPL expressions. Commas are shown by default but can be turned off by selecting the Workspace, then Show Commas in Numbers option. When the option is selected, all values will update automatically. The only exception is that you can configure custom slots with no units to display Years. In that case, the years do not show the comma or any values to the right of the decimal point. For more information on the Year display type, see Numeric Display Type in User Interface.
Synchronize Series Slot Scrolling
The Synchronize Series Slot Scrolling option allows all series slot dialogs (except the SCT) scroll together. That is, the dates scroll at relatively the same time. There is no guarantee that the exact same dates will be at the top of the window due to different sized dialogs and content, but in general relatively the same dates will be shown when scrolling is synchronized. For more information, see TODO
Synchronized scrolling and the Global Time Scroll allow you to quickly move through the time range in many RiverWare windows. For more information on the Global Time Scroll, see TODO
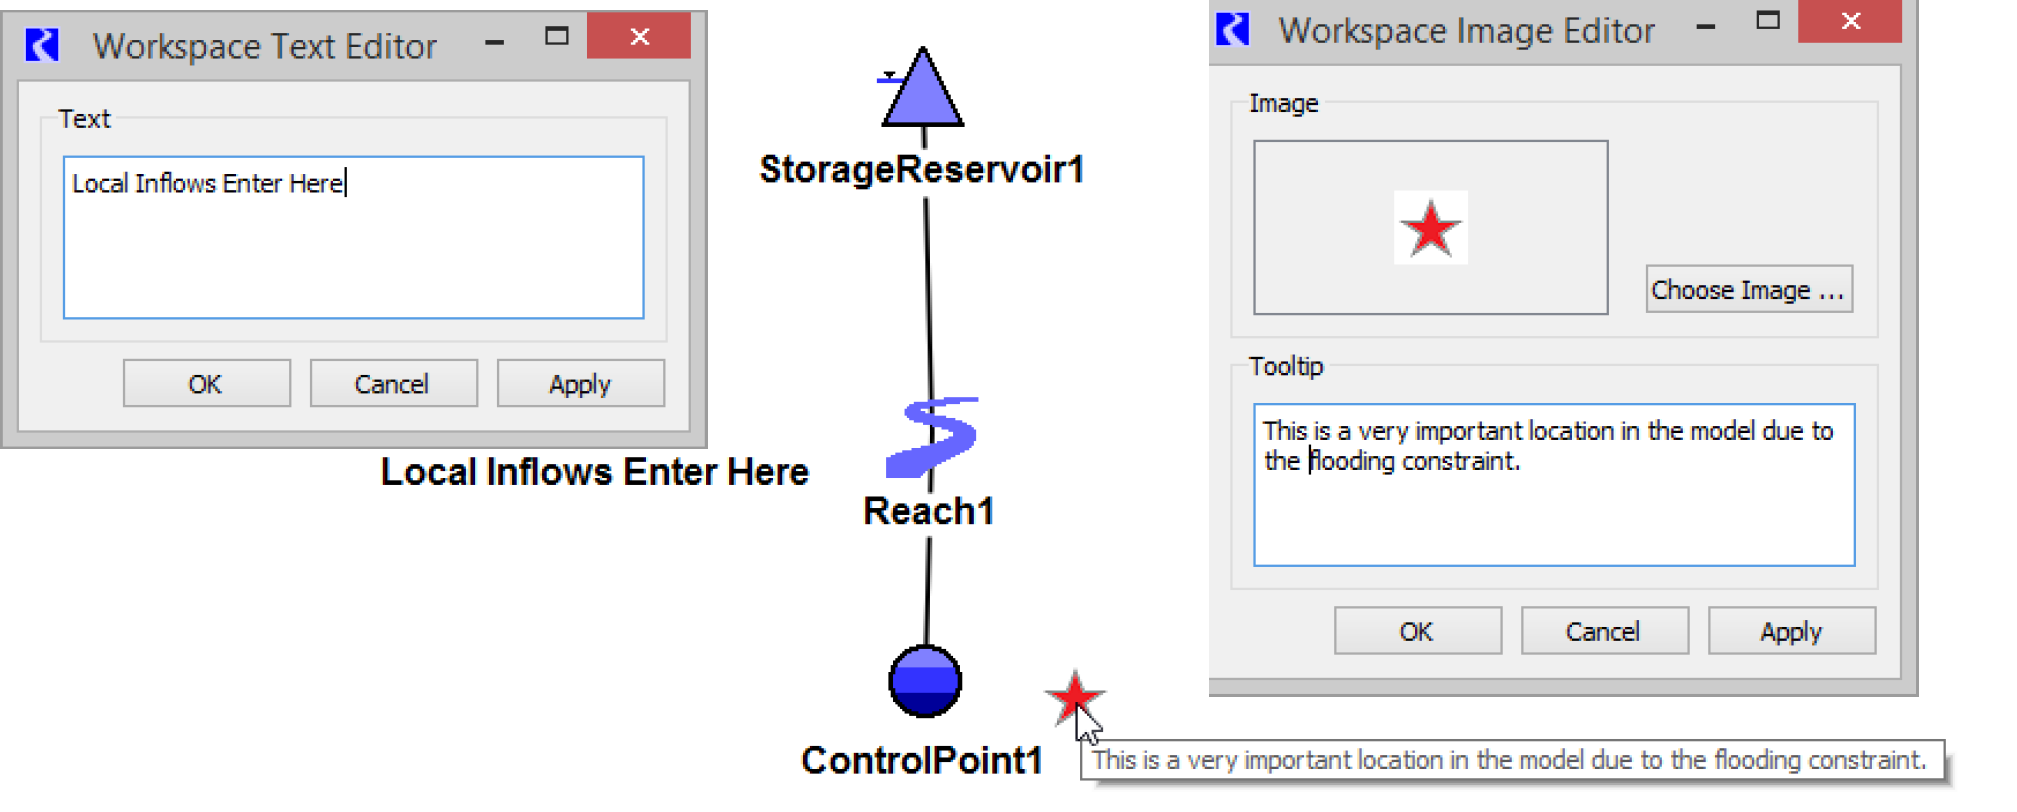
Add Text or Add Image
Often users find that they may wish to annotate their workspace with text or image files. To do so, use the right-click context menu and select Add Text or Add Image. This opens a dialog where you can specify the text or an image, respectively. The image on the left shows the text editor and the resulting text below it. Figure 2.6 shows the image editor with a small image shown. Also shown is the tooltip for the specified text. This is the text you see when you hover over the image.
Note: Both text and images are not selectable on the workspace, but you can move them individually. Also, right-click the text/image to Edit and Delete or delete the item.
These are supported separately on the Simulation and Accounting views, but not the Geospatial view.
Images are saved in the model file and will increase the model file size. GIF, PNG, or JPG images are supported.
Figure 2.6
Output Canvas Items and Animation Controls
The Output Canvas allows you to create spatially distributed output visualization diagrams. You can show the following items from an Output Canvas directly on the Simulation and/or Geospatial Views. See Showing Canvas Items on the Workspace in Output Utilities and Data Visualization for details.
• Teacups
• Charts
• Text
• Flow lines
• Canvas lines
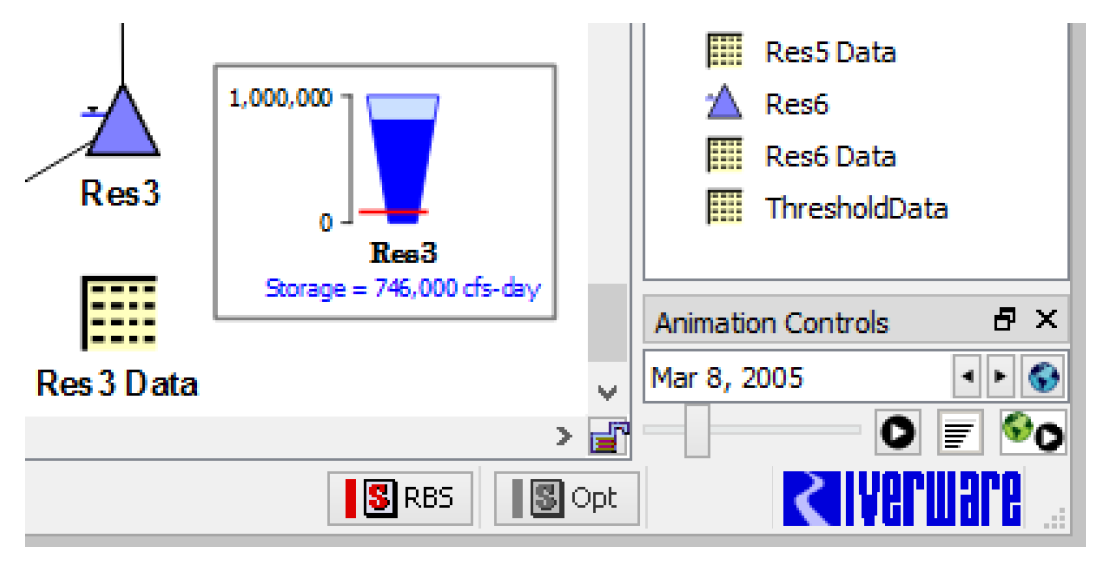
When items are shown on workspace views, an additional panel of Animation Controls is shown below the Simulation Object List, as shown in Figure 2.7. See Animation in Output Utilities and Data Visualization for details on the controls.
Like other dockable windows, this panel can be pulled off the workspace to its own dialog, docked on the left side of the workspace or closed. To redisplay the panel, use the Utilities, then Windows, then Show Animation Controls menu.
Figure 2.7
Slot Cache
The Slot Cache provides a temporary copy of series slot values. The cache is created from the Workspace, then Create Slot Cache menu. Within the run range, all visible series slots (except those on Data Objects that are not optimization variables, exchanges, supplies, and those slots with different step size than the run) are copied to the cache when this menu is operated. These values can be accessed using RPL predefined functions SlotCacheValue and SlotCacheValueByCol. They are typically used during an optimization run for certain Seed Method parameters. The cache values are not saved in the model file.
Manually clear the Slot Cache using the Workspace, then Clear Slot Cache option.
Note: The slot cache is under development. For information on the status of this feature, email RiverWare Support: riverware‑support@colorado.edu
Clearing the Workspace
All objects can be cleared from the workspace by selecting Workspace, then Clear Workspace. A confirmation dialog appears warning that all objects on workspace will be removed. All rulesets will also be cleared and any unsaved changes will be lost.
Revised: 06/04/2022