
Assign objects to cells
Use this procedure to populate the object grid with one or more objects. Each object is assigned to one cell.
Note: It is possible to assign the same object to multiple cells. This is useful when you want to track different slot views for the same object. You can assign a different slot list to each cell the object is assigned to.
1. Go to the Object Grid tab.

2. Select all the cells you want to populate.
Note: If a selected cell already has an assigned object, the existing object will be replaced.
3. In Cell Objects area, select Set.
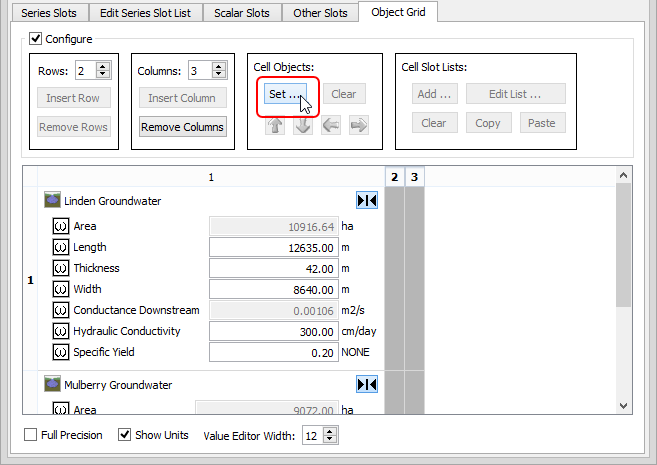
The Select Simulation Object for Cell dialog box opens.
4. Optionally, position the two windows so you can see both side-by-side.
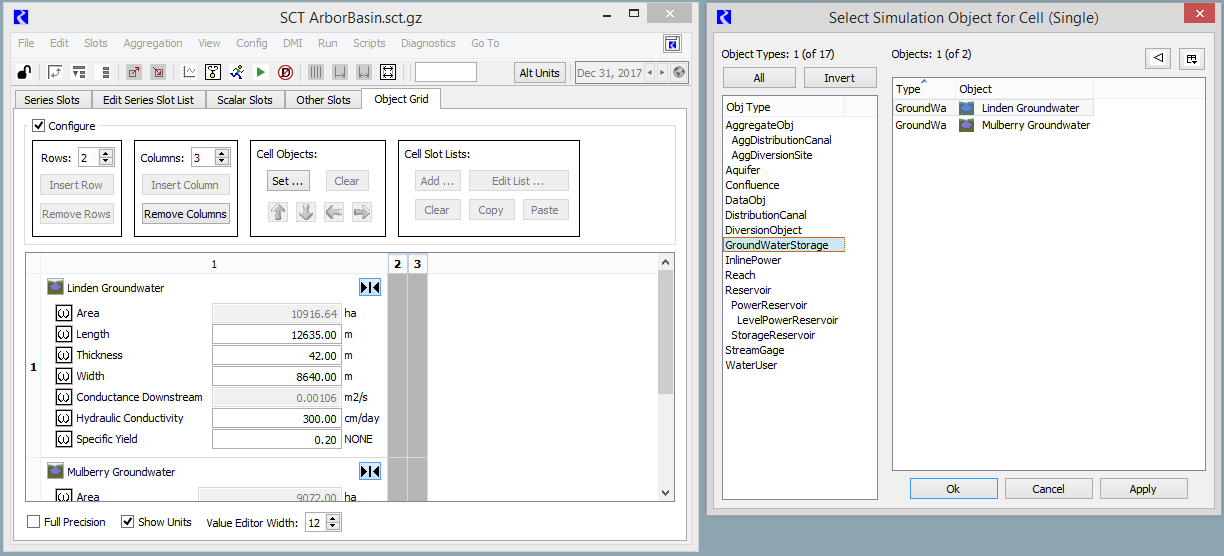
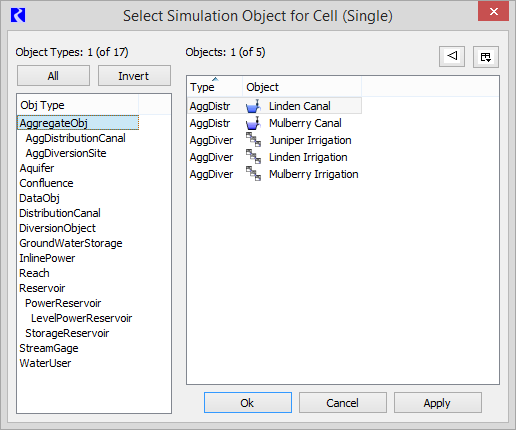
5. In the Object Selector dialog box, select an object, then select Apply.
The object is assigned to a selected cell, as follows:
– If you have selected only one cell, the object is assigned to that cell. You must close the Object Selector dialog box before assigning any additional objects to cells; proceed to Step Step 7.
– If multiple cells are selected, the object is assigned to the first (top-left) cell in the selection.
6. Repeat Step Step 5. to assign additional objects, one-by-one, to the remaining selected cells.
Objects are assigned to the remaining selected cells. The first selected column is filled from top to bottom, then the next column to the right is filled, and so on, until all selected cells are filled or you stop assigning objects.
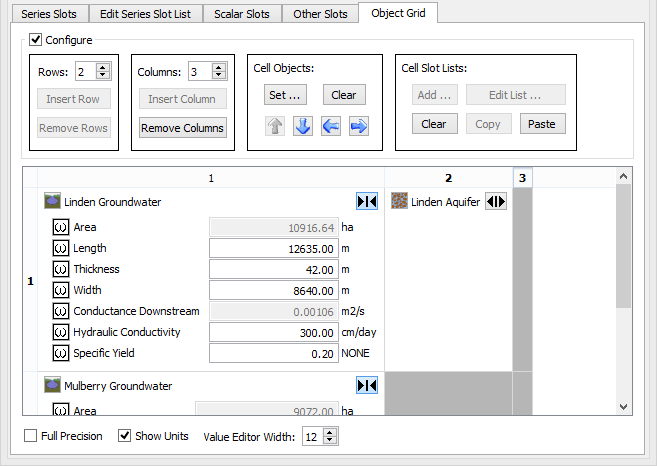
7. Select Ok in the Object Selector dialog box when you are done assigning objects.
The Object Grid tab becomes active.
Related topics
Revised: 06/04/2022