
Trace Directory DMI Editor Dialog
A new Trace Directory DMI is created from the main DMI Manager dialog by selecting DMI, then New DMI, then Trace Directory DMI. Edit the DMI by double-clicking in the DMI Manager or by selecting Edit from the Edit menu; the Trace Directory DMI Editor dialog appears.
Figure 3.3
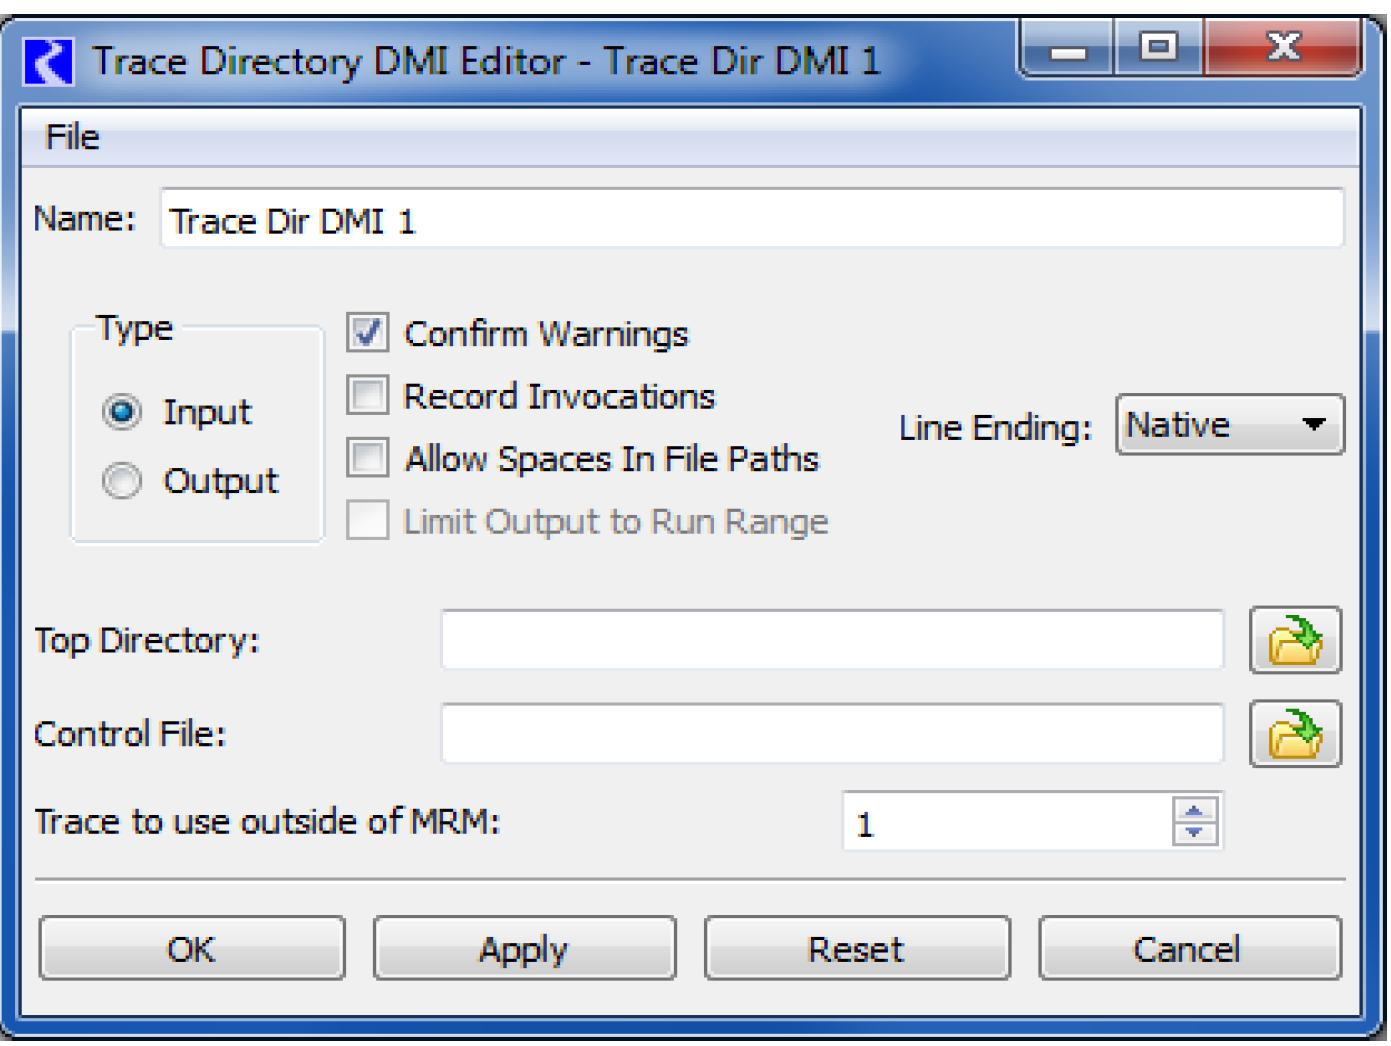
Many of the configuration options are the same as those for the Control File-Executable DMI. The following list references the discussions in that section for the equivalent controls:
To specify a Top Directory and the Control File the user either:
• The  button to open a chooser dialog and select the directory/file.
button to open a chooser dialog and select the directory/file.• Select the field to edit the path in place.
The top directory path can contain environment variable references of the form:
• $VARIABLE
• $(VARIABLE)
• ${VARIABLE}
VARIABLE is a letter followed by zero or more letters, digits or underscores. If the variable is followed by a letter, digit or underscore it must be “quoted” with () or {}. For example:
• $DMI_DIR/EvapData/
• $(DMI_DIR)_$TARGET/EvapData/
The Trace to use outside of MRM control is an integer spinner where a trace number can be selected or typed. If this DMI is executed outside of a multiple run, this trace number is used to determine the subdirectory under the top directory to use for reading or writing data. For example, if the trace number is 3, the subdirectory “trace3” is used as the location for the DMI input or output files. Within MRM, the trace number is automatically substituted.
Revised: 07/05/2022